Good strings are an important investment towards the sound quality of your instrument. You can maximise the life of your strings by looking after them carefully.
A professional would generally change strings at least every three to six months. A student could expect to change their strings every year.The string makers, Warchal, advise that the commonly accepted lifespan of violin strings is around 150 hours of playing. =The higher strings tend to need changing more often than lower strings and are also more likely to break.

The unraveling string
There are several reasons why strings may need replacement.
- The windings may break and unravel;
- their sound quality has been lost
- they are not staying in tune anymore.
Some teachers recommend that their students changing strings 4-6 weeks prior to an exam to make sure the strings have settled (stay in tune more easily) and so that the sound of the instrument will be optimal.
Cleaning strings
Whenever you finish playing, use a dry cloth such as a microfibre cloth to gently remove excess rosin from the strings. If rosin isn’t removed regularly it builds up and becomes harder to remove. When strings are coated with too much rosin, they won’t have as nice a tone. Also clean the rosin from the violin itself where the rosin dust lands. Rosin can also damage the varnish.


About once a week, an alcohol based string cleaner such as Pirastro string cleaner or an alcohol pad can be used to clean the strings. When using alcohol based products, it is essential to prevent the alcohol coming into contact with the varnish of the instrument. You can hold the instrument upside down or place a clean dry cloth between the strings and the fingerboard of the instrument to protect the varnish from the alcohol.
Alternatively, you could remove each string before cleaning it. Remove, clean and replace one string before going on to the next one. This minimises the risk of moving the bridge and having the sound post fall over. Use the cleaning solution sparingly- a small drop with be enough. After cleaning your strings, make sure that you wash your hands before touching the instrument’s varnish.
Tuning and fitting strings
When tuning make sure that you don’t over tighten the strings as this stretches them. Also make sure that the pegs move freely otherwise you can end up over tightening or breaking the strings. If the pegs are sticking, they may need a peg service. If you are comfortable with changing and tuning strings, you can apply peg paste to the part of the pegs that come into contact with the peg box. Otherwise, a peg service can quickly and easily be done in our workshop while you wait. If the pegs are still not moving freely, the instrument may need a luthier to work on the pegs or the peg box.
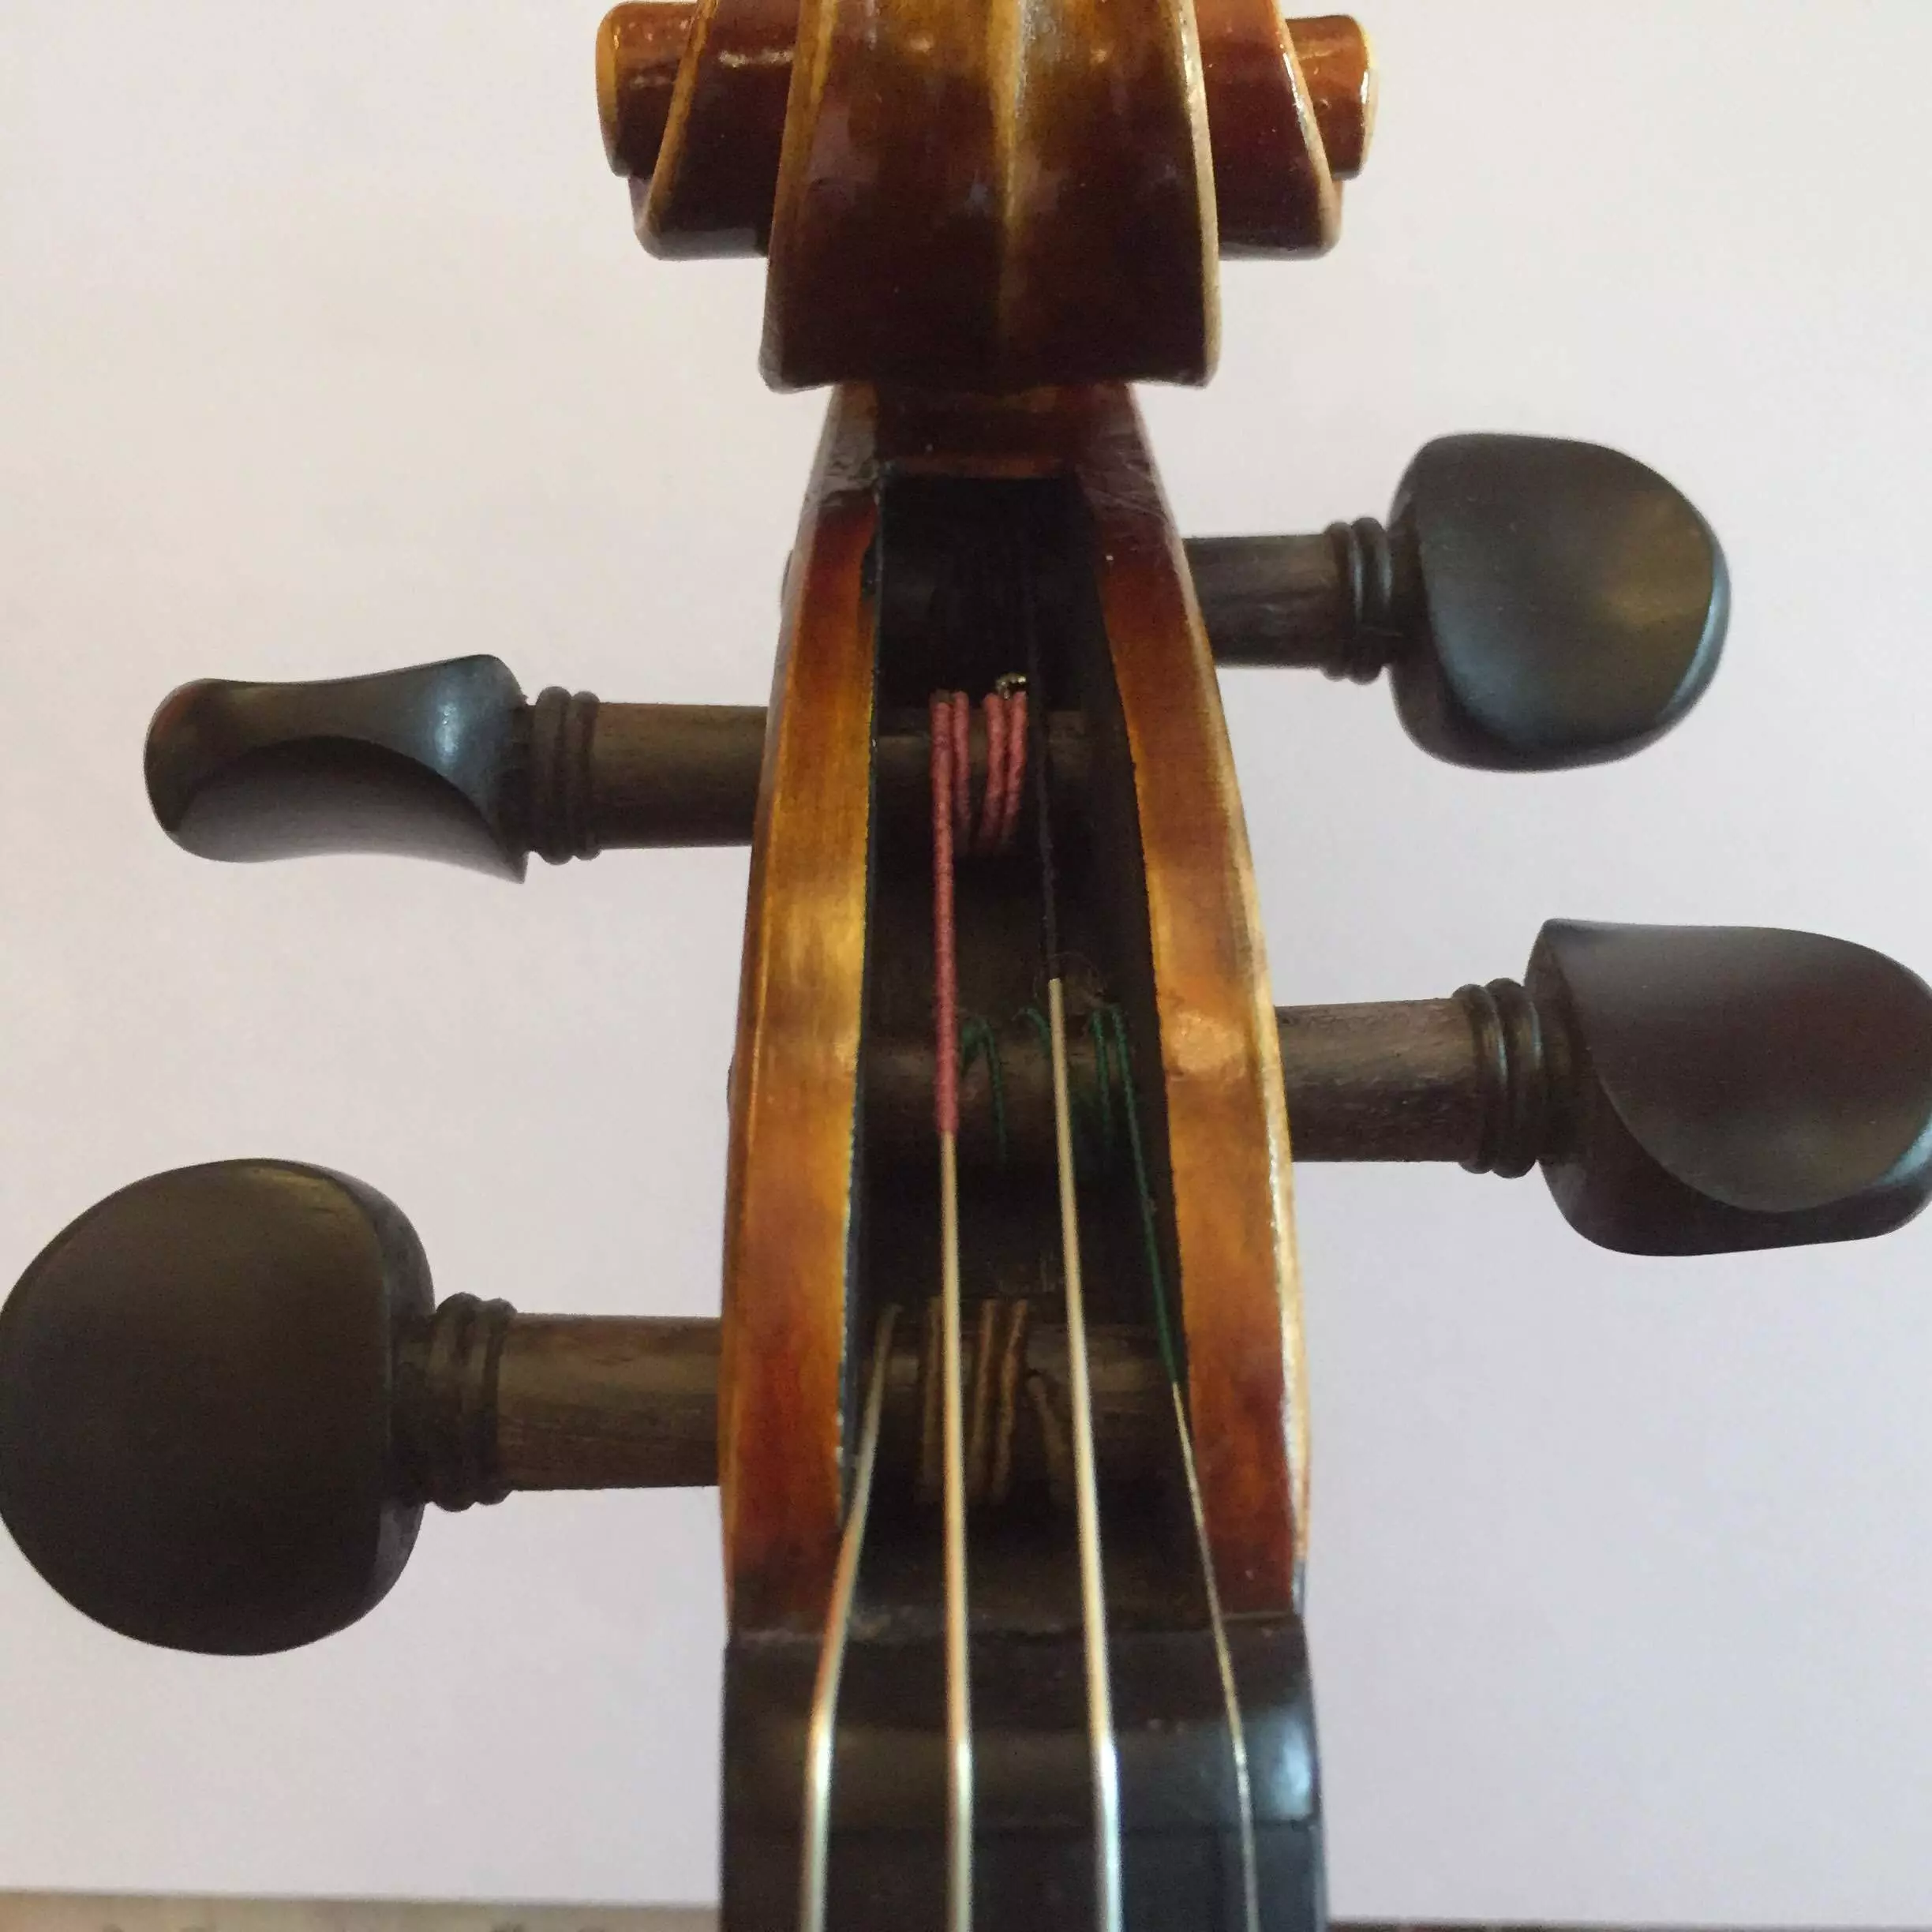
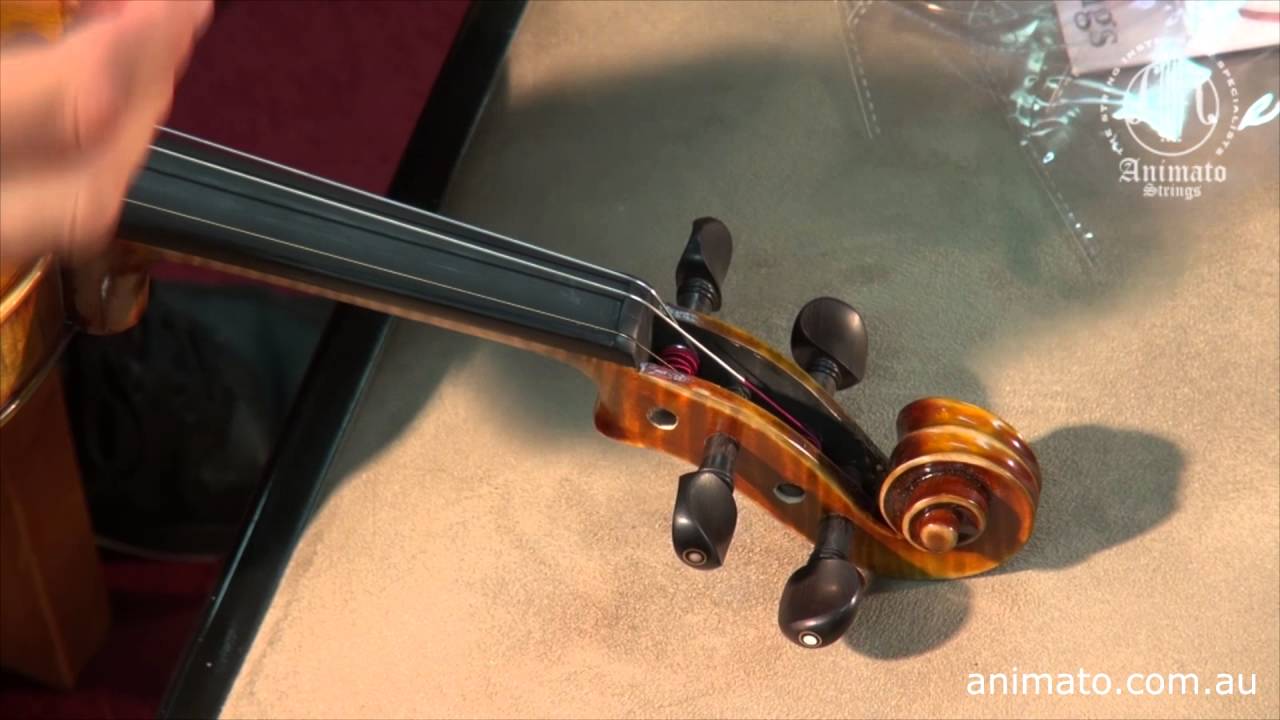
Make sure that your strings are fitted correctly. When winding a string onto the peg, don’t let subsequent windings overlap previous windings. Instead, make sure that the windings are parallel to each other. Here is very helpful demonstration on how to string a violin. The same concepts can be applied to the other members of the string family.
Instrument set up
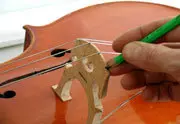
The set up of the instrument can impact on the life of your strings. The notches in the nut and the bridge need to correspond to the thickness of the strings. These notches also need to be smooth. If the strings are become damaged where they stretch over the nut or the bridge, the notch may need to be adjusted by a luthier. When changing strings, you can apply the graphite from a pencil to the contact points on the bridge and the nut. Lubrication from the graphite allows the strings to run more smoothly and it is easier to straighten the bridge.


